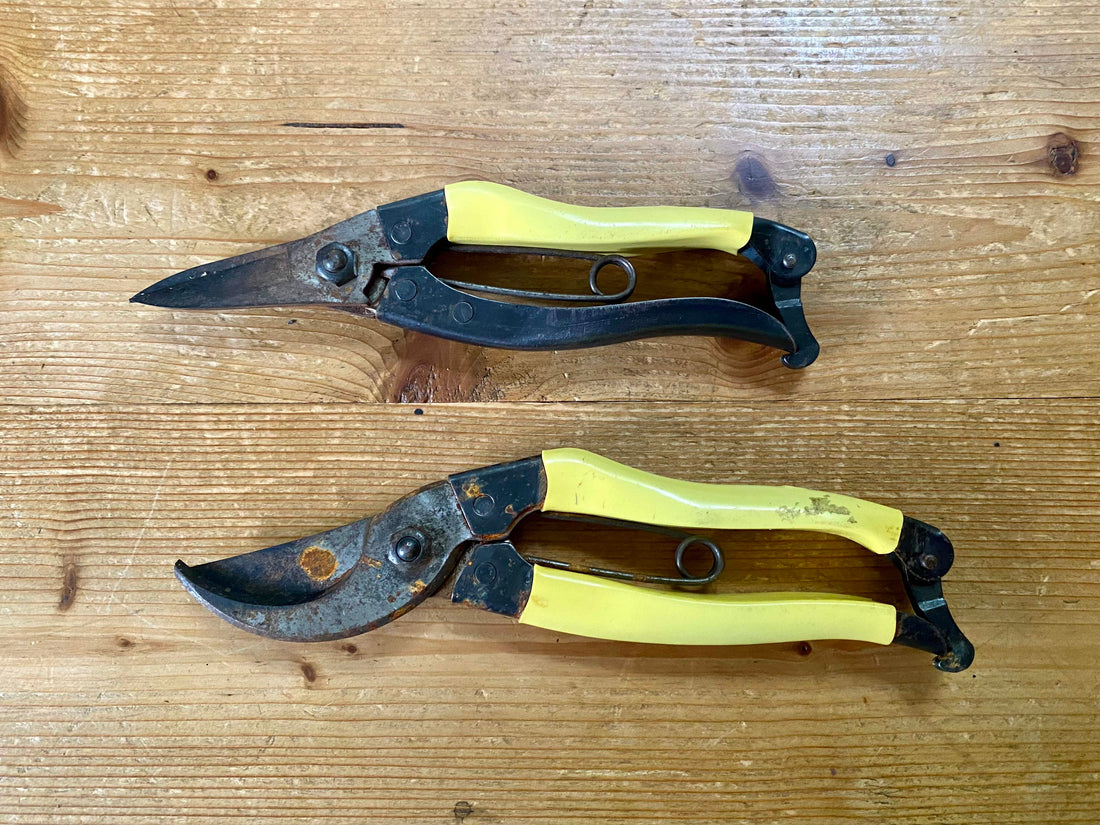
Summer clean up for you secateurs and snips...
Share
We are hurtling into the back end of Summer.
You've no doubt been snipping and cutting - deadheading and cutting flowers to enjoy inside. And you've got, hopefully, another month or so of continued cuttings to enjoy. So now is probably the time to make sure that you aren't crushing stems when you cut, that your snips and secateurs are 'on point' for cutting (literally and figuratively).
Also, if you are anything like me, you'll have left them somewhere in the garden overnight. And you'll have accidentally watered them too. So, they will be likely rusty. No fear. Show them some love now and you're set for the rest of the summer...
It’s an easy three step process - you can follow the steps below, or scroll back through the instagram feed and you can watch Edd doing it (yes, we know we need to get them up on the Youtubes, but trying to get him in front of a camera is hard enough).
- Clean your snips or secateurs using Niwaki Crean Mate. This is a scouring block that needs soaking in water for a few minutes before using it. Think of it like a mildly abrasive eraser – you simply rub it all over your secateurs and it will clean up their surface. Ensure you work across all of the cutting area – as most good quality secateurs have a bypass mechanism - where the blade glides past the lower jaw – so you need to clean it all to keep it working well. Remember to keep your fingers away from the edges whilst you rub it over the cutting blades. Just wipe away the reside with a cloth to see the blade coming clean and you’ll soon begin to hear the difference if you test them. If there is any surface rust on the secateur handles you can use the Crean Mate, or if you need something more abrasive you can use some wire wool or a wire brush.
-
Sharpen snips or secateurs using a whetstone. Invest in a small whetstone which can be easily used on secateurs rather than using a large one designed for kitchen knives. The Niwaki 1000 grit whetstone is an all-purpose one that suits most people (you can get coarser or finer grit should you need to remove more or get a finer polish).
Secateurs: find the angle of the secateur blade by resting the whetstone on top in the same direction. Then simply work the stone using small circular motions using the same consistent angle. Work over the entire blade to just put the edge back on. Remember to turn the blade over and lightly run the whetstone over it to remove any burs from the other side.
Snips: are the same but as they don't have a curve they are more straight forward to sharpen - but you have to do both blades - so it's twice the work, but you don't have to think about the curve. - Protect snips or secateurs – Camelia oil is perfect (and the preferred choice in Japan) because it isn’t acidic. You only need a few drops onto a sponge and you simply wipe it over the secateurs. The sponge will hold the camelia oil so keep this in your maintenance kit. It will act as a surface barrier on the carbon steel, offering some protection when you next use them.
How often? Well, we recommend cleaning and protecting your secateurs as regularly as you can – as this avoids build-up of rust (if you are using high carbon steel tools) and also reduces the risk of transferring any diseases around your garden via your secateurs. Then, as and when needed, you can sharpen them.
This advice is relevant to all kinds/makes of secateurs and snips, but it's particularly relevant and absolutely required if you have invested in good quality secateurs Japanese secateurs (such as Niwaki), as they will be made from high carbon steel rather than stainless steel. This means they are incredibly sharp and can be re-sharpened, but, as they aren’t stainless steel, they will tarnish from tannins in plant sap and form surface rust relatively easily if they are left in a damp environment. None of this is a problem structurally, but they will cover in surface rust which will affect their ability to cut (and not look great either!).
If you can get into a Tinker and Fix Maintenance Mindset you’ll have your garden tools for life (if you’ve bought good quality ones to begin with!). Cleaning them off after each use, before you put them away, makes a big difference and means that your regular maintenance checks become less arduous.
