Costermonger bag build…
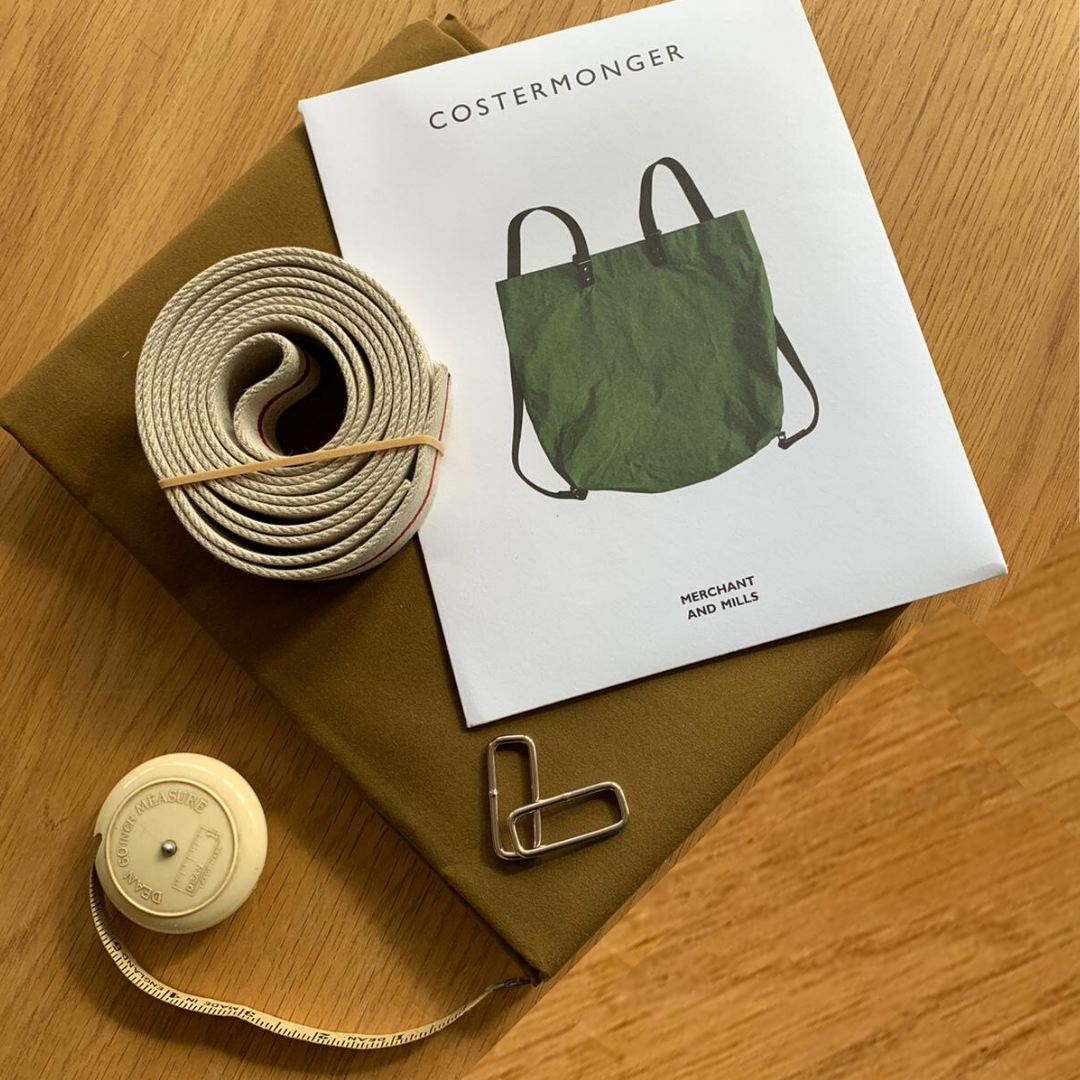
 Our resident sewing pro, Liz, put the Costermonger kit, to the test. Made by Merchant and Mills, it contains everything that you need to make the bag (fabric, pattern, webbing, fixings). We chose this particular kit because it’s a cracking looking bag that is billed as a ‘beginner’ pattern. So it makes a good starter set, ‘back to sewing’ project, or a gift that is accessible to make and then looks good for a long time after too.
We also specifically picked it out because we have a pop up shop at the Eco Village in Market Harborough - where we see the array of bags people bring in to take their plastic free shopping home. The Costermonger has a clever design meaning it can be worn as a backpack or just carried by the handles. A nifty switch up depending on how much you’re tempted to buy – which is, notably, at the Eco Village, always more than intended because it always looks so good! Also we didn’t know it at the time but apparently, according to google, a Costermonger is someone who sells goods, especially fruit and vegetables, from a handcart in the street. And whilst the Eco Village certainly isn’t a handcart in the street –it does sell fruit & veg!
 Anyway, making the Costermonger was definitely a mixed bag of experiences. It didn’t help that the kit Liz used had the wrong instructions included. Not great – but easily resolved and we now have spare/back up sets should this happen again (just contact us and we’ll sort you out – we know this hasn’t been the case for other kits we’ve sold – so we’re hoping this was just a one off error from Merchant and Mills).
The whole thing took 2-3 hours to make (she’s a real sewing pro though, having sewn all her life and worked at Hampton Court Palace restoring some of their most precious collections including the Queen’s wedding dress). So perhaps it may take you a bit longer depending on your skill level. Her first impressions were that the webbing might be tricky to sew, but it was easier than she thought. Her top tips for success with this kit are:
- Use a strong needle for the webbing (e.g. a jeans needle)
- Measure the positions of the corner carefully before sewing
- Be sure to thread the webbing through the sliders the correct way round
- Take your time to get a good finish
 Looking at the finished bag, we love it. The design really is cracking and it’ll be in use for a long while. We are big fans of fabric like this though – it’s a dry oilskin fabric – which means it does hold creases and doesn’t look perfect from the start. Meaning that the finished bag could perhaps be a little marmite – as Liz wasn’t as keen as we were on the fabric. Ultimately, it’s very Tinker and Fix - it’ll look better with age and gain patina – so if you like this style, it’s definitely a good buy/bag for you!